Showing posts with label crafts. Show all posts

Monday, January 21, 2013

Quilting for Funzies


So I'm making a quilt.

Yup- I started a big project. My goal is to, well... actually finish this one.

I have a habit of starting things like scarfs and hats, etc and never finishing them. But not this time.

See, this one is compact, adorable, and has a no-pressure time frame. And it can be done whenever I fell it is done (or I run out of fabric- whichever comes first).


So here's the process:

I tack small squares of fabric to my amazing tiny hexagons.

Then, I stitch the hexagons together making flowers.

When I have enough of those, I sew them all together.

To finish it off, I undo the tack stitched and remove the papers.

TaDa!!! I have a quilt top.

It's coming along fairly well so far, I think. I'm just at the flower making phase, but I think its going well. I'll keep you updated on how its going!

Friday, September 28, 2012

Makin' It Happen: Chip Clips


Sometimes you have some extra scraps of fabric.

Sometimes you also have clothes pins.

Some other times you also need clips to keep chips and such fresh; a chip clip, if you will.


When you live with a Master Crafter, the math is really easy on this one. We made really cute fabric covered chip clips.

So here's how we did it:

First, we took apart the clothes pins completely, careful not to loose the spring.

Then the sticky part began. Using (FIND OUT WHAT GLUE), we stuck the flat sides of the clothespins on the fabrics. Once that was thoroughly stuck, it was wrapping time.
Little by little, we would spread some glue and use our fingers to roll the clothespin on the fabric as tight as possible and our fingers to spread the glue (hence the sticky).

We let it dry after each step.

After that, we Modge Podgeed them to seal them (and make them shiny)

Next day, we put them back together and BOOM- we have adorable chip clips.


Not too shabby, right?


Tuesday, September 11, 2012

Apartment Update!

my picture wall in my room

So it's been about a week in the new place, and we are settling in quite nicely. Here's some of the updates we've made:
bits form the living room- our theta wall, our wall of pictures, and our amazing bookcase complete with tea set AND joan holloway barbie 


from this...

to this! dining room table- we found an awesome little grocery stores that has a great flower section
sad bar...

happy bar!!- those are our royalty/ LU shot glasses
empty bathroom...
cute bathroom! my babushka glasses, my side of the sink, and our bathroom post cards

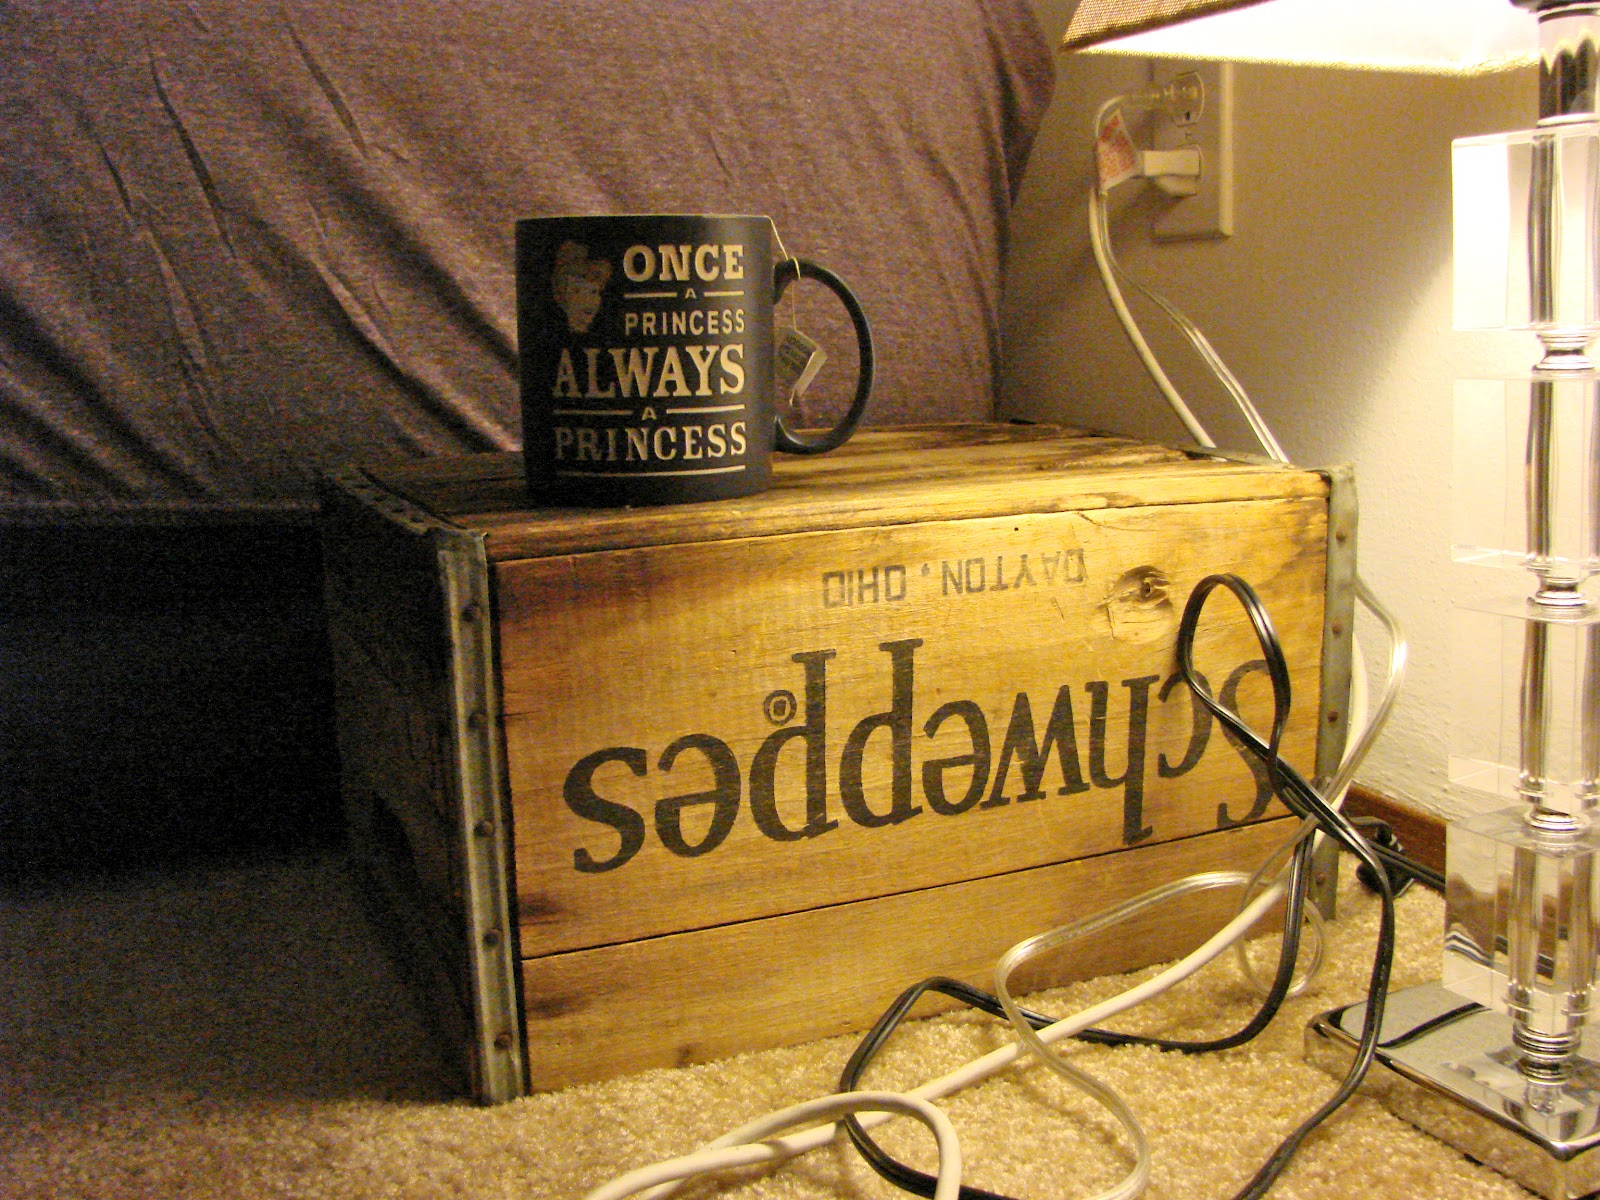
my amazing bed and nigh stand- not over how much i love the lamp

first bedside table...


bedroom details- my bedside table, my jewelry and a purple tray (i made it!)

What do you guys think?


Thursday, September 6, 2012

Makin' It Happen: Ikea Honeycomb Mirror


We went to Ikea the other day.


the project

sad nook :(
The best part of any Ikea trip (besides the meatballs) is finding the little bits that brighten up a space. On our harrowing Labour Day trip to Ikea, my roommate, Schroer, and I found a few choice bits. One of my favorites is the honeycomb mirror we found.

See, we have this nook right when you walk in and it needed a mirror. Badly. So when we came across this one, it seemed like a no-brainer.

Naturally, the moment we got home and had put together the furniture we'd gotten, I pulled out the pieces and began arranging them. The mirror isn't just one piece, but ten smaller octagons that you can arrange to your liking.
My favorite part of the mirror is that it's half silver mirror, half bronze mirror. When I first saw this, I didn't like it one bit, but as I arranged the pieces and put the bronze ones in at random, I grew to love them. The warmth of the bronze is so welcoming, especially in our front hall.

Remember when I said my roommate is a master crafter? Well, she came up with the genius idea to put papers behind the mirrors to frame them.

the piece in progress with it's creator, the magnificent Schro
We immediately pulled out paper and started arranging them.

We went with different papers for each piece- it gives almost a quilted effect.

So after deciding on the final arrangement of the mirrors and papers, Schroer traced the octagons and measured out about an inch. Then she carefully cut out the strips and placed them around the corresponding octagon. After it was all laid out, the dangerous part began: sticking it together.

Schroer stuck the paper to the mirrors using her handy dandy double sided tape tool. Then, I volunteered to help out.


Not my brightest idea.

I was in charge of sticking the final pieces to the wall. Well, the adhesive squares for the mirrors are a one-shot deal. So, naturally, I stuck the first one on slaunchy. And then panicked.

But it turned out ok; Schroer fixed it.

It turned out amazingly. The nook is now cheerful and welcoming when you walk in.
final product, with Schoer as a disney princess. 

And, we all learned an important lesson:
Schroer really is the master.


And I should not be in charge of the hard-to-fix steps.